Creating a new overlay
Creating a new overlay is the first step in organizing your tactical data.
-
Open the TacticMap app on your iPhone.
-
On the main screen, in the section titled “Overlays”, find and tap the “Create new overlay” button.
-
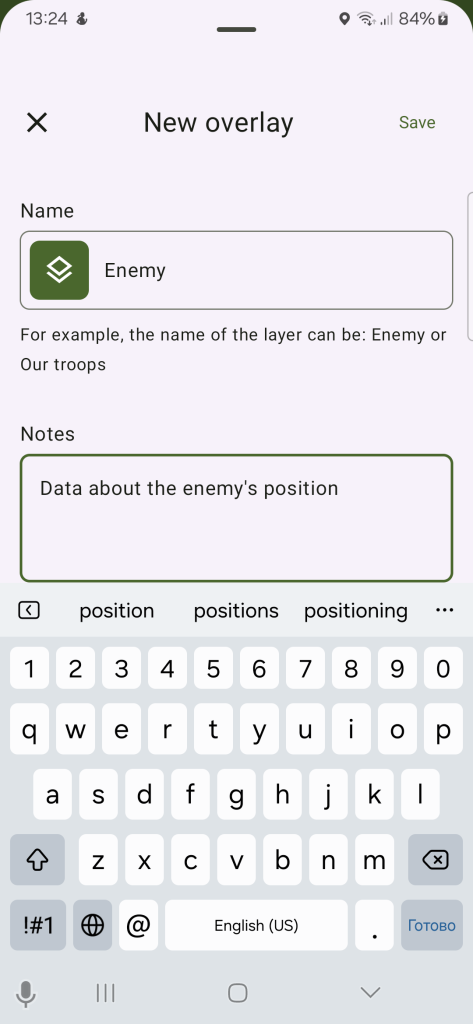
A new screen will appear. In the “Overlay name” field, enter a clear and descriptive name that reflects the content of this overlay (e.g., “Enemy Positions”, “Minefields”, “Our Units”).
-
(Optional) In the “Notes” field, you can add additional details or comments related to this layer (e.g., “Expected attack directions” or “Active minefields by sector”).
-
After entering all the information, tap “Save”. The new layer will appear in your layer list.
Creating a new overlay
Creating a new overlay is the first step in organizing your tactical data.
-
Open the TacticMap app on your Android.
-
On the main screen, in the section titled “Overlays”, find and tap the “Create new overlay” button.
-
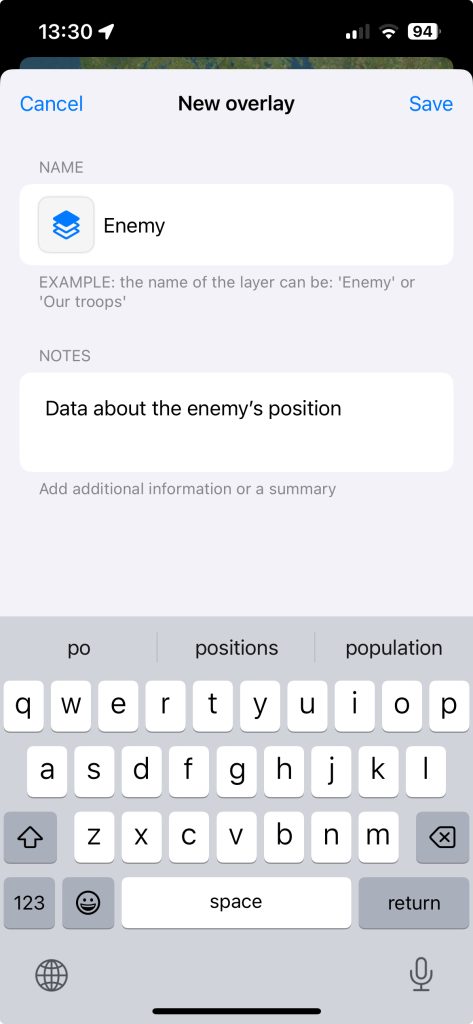
A new screen will appear. In the “Overlay name” field, enter a clear and descriptive name that reflects the content of this overlay (e.g., “Enemy Positions”, “Minefields”, “Our Units”).
-
(Optional) In the “Notes” field, you can add additional details or comments related to this overlay (e.g., “Expected attack directions” or “Active minefields by sector”).
-
After entering all the information, tap “Save”. The new overlay will appear in your overlay list.